It’s often useful to use Lego bricks in different orientations than they’re designed for and this is known as Studs Not On Top – SNOT.
The magic ratio to remember in Lego design is 5 : 2 – A Lego brick is 3 plates high and 2.5plates wide, this means that 5 plates on their side are equal in width to 2 bricks.

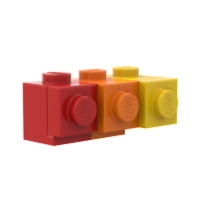
There are various pieces that can be used to flip bricks onto their sides. Brackets and modified bricks with studs on the side are the main ones that are designed to do it but other bricks such as headlight bricks, hinges. Even bars and clips can be used to flip bricks.
Each brick has different implications for SNOT building. Brackets can add a 1/2 plate to the different orientation and this can be used to raise bricks off the profile of the main design, or can be the half brick needed for half the 5:2 ratio – 2.5 plates = 1 brick. Modified bricks allow the flipped bricks to be flush against the main design, and headlight bricks are recessed.
The main pieces used for the arch will be two Arch 1x3x2 pieces which have a nice silhouette when used in their standard orientation (left), but they feel too ornate for the desert arch design. When they’re flipped onto their sides, however, they look much more sturdy (right)

The problem is that in this orientation the arch pieces need somewhere to put their studs so they can be held in place, and this is where headlights come in. While headlights are recessed in standard orientation they can be flipped onto their backs because there’s a stud hole. This means they can be used to provide a 1/2 plate clearance to receive a connection. Headlights are a very versatile brick and more will be written about them in the future.
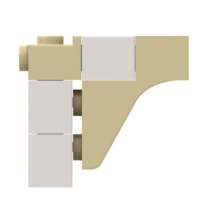
There’s an obvious gap where on the lower two studs where there isn’t a headlight and using more headlights to cover it up that won’t work. If you try to stack headlights on their backs, you’ll see that there isn’t any way to connect them together. The gap between the recessed stud and the headlight above it is only 1/2 plate .
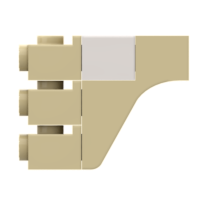
The only thing that can be done is to hide the gap behind some other bricks whatever way fits your design. In the desert arch, the gap has been covered by using some 1×2 tiles the attach to the uprights using a brick with studs on the side.
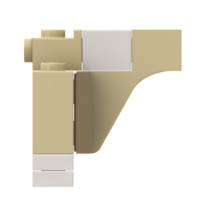
Now the arch is in position, it’s a simple case of duplicating everything and making the second side, right? Well, let’s count the width of the top row. There’s the 3 plates for the arch, 3 plates for the white 1×1 used to connect it to the headlight and 3 plates for the headlight. 9 plates in total. Doubling that gives a design that is 18 plates wide. The ratio given at the start of this article said that 5 plates was equal to 2 studs, but dividing 18 by 5 gives 3.6. So this design is just over 7 studs wide.
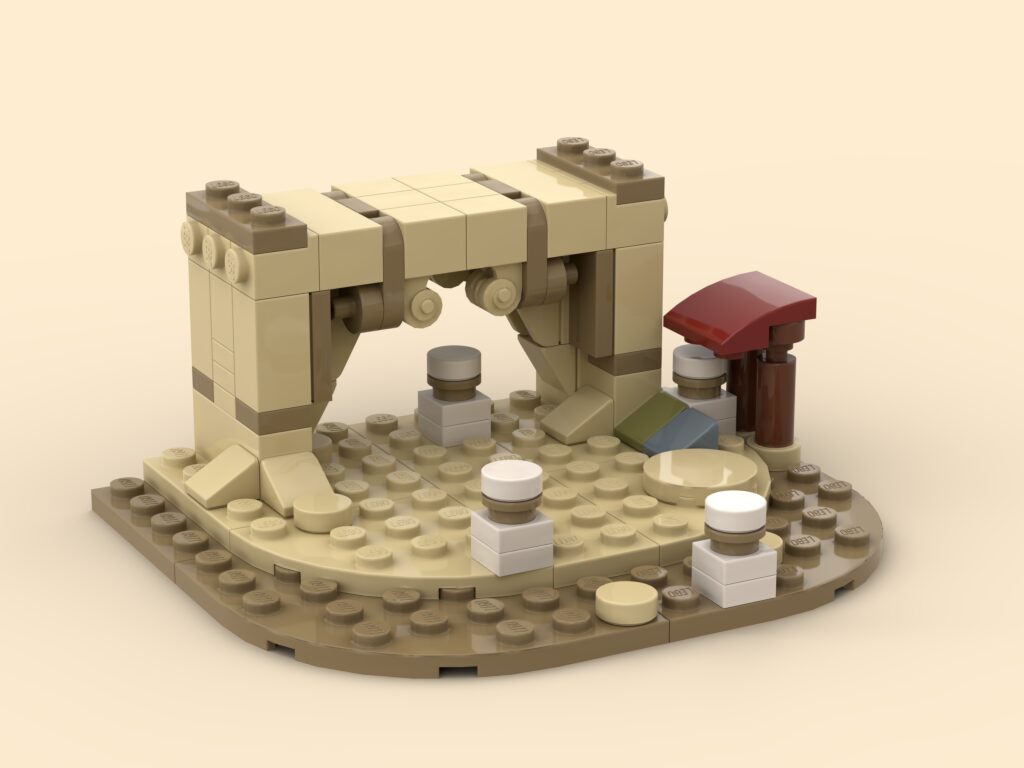
That’s not going to attach to a base, and one issue for this design is both sides of the arch need connected independently so they line up and look like they are one piece, or else it just won’t work. The nearest multiple of 5 that will work is 20, which would make the design 8 studs wide, which is perfect. And luckily, it’s easy to make it 20 studs wide – just add a single plate to each side somewhere. You can see that additional dark tan 2×1 round plate in the image at the top. That’s not just there for aesthetic purposes, it serves an essential role to make the design fit correctly on a base.
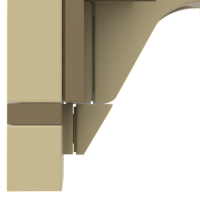
One final use of SNOT is in the slope piece at the bottom of the arch, to make it look like it smoothly attaches to the uprights. This was achieved using a bracket which moves the cheese piece out 1/2 plate and lines up exactly with the start of the slope of the arch. Sometimes it’s amazing how well the Lego pieces are designed to line up with each other.
The instructions for the full desert arch are available for free on the Godspeed You! Brick Emperor Rebrickable page
